
Today, it is incredibly easy to open e-commerce stores. Popular website-building platforms such as Shopify, Magento, Wix, WooCommerce, and many others offer easy ways to complete creating your online store within a few hours or days.
Shopify is one of the leading platforms to build online stores. Currently, over 1.7 million merchants vouch for its quality to sell their products online. If you are planning to take your business online, we suggest you go with Shopify. It doesn’t take long to create Shopify e-commerce store.
Here, we will guide you through the steps from the initial signing up to the final launch of your Shopify store.
1.Sign up with Shopify
It is straightforward to create a mobile app for businesses that have online storefronts on Shopify. Shopify users may convert website into mobile app by using third-party services offered on Shopify or online. They may also create their own Shopify mobile app from scratch. But a still easier option is Swipecart that allows you to convert your Shopify store into an app without coding.
These are the four approaches for transforming your basic Shopify shop into a visually appealing mobile app.
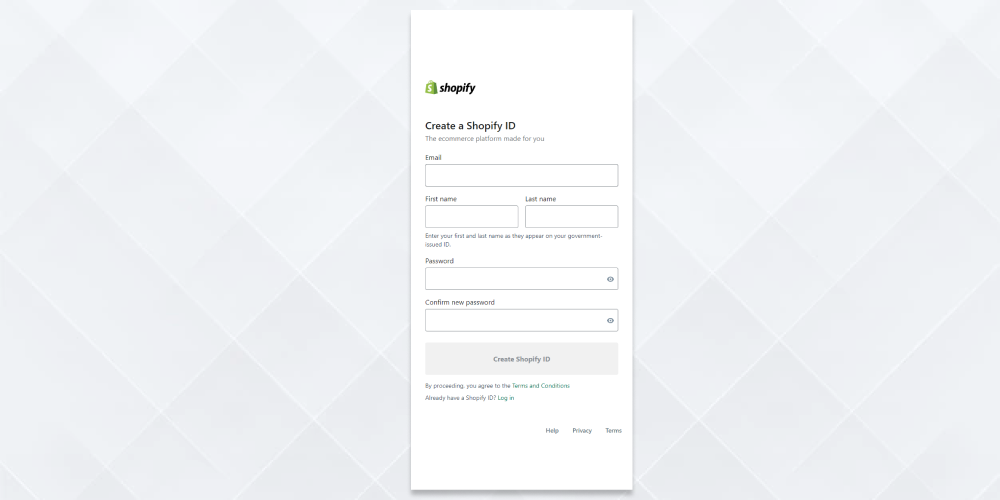
Open your e-commerce store by signing up for Shopify’s 14-day free trial. It is a good way to test the design and setting up of your store. It just requires your e-mail id password with NO credit card information. You have to pick up a plan only if you decide to launch your store online.
Once you start your free trial, the next step is to select the store name.
Note: Select a unique name for your store for Shopify to accept it and allow you to purchase the domain.
Shopify asks what you plan to sell, current revenue, and some other queries that help Shopify understand your preferences better. Further, it will also ask for a few details like your name, address, country, and contact number to set up the taxes and currencies. Once you complete this section, you are done with the signing-up process.
2.Create Shopify e-commerce store
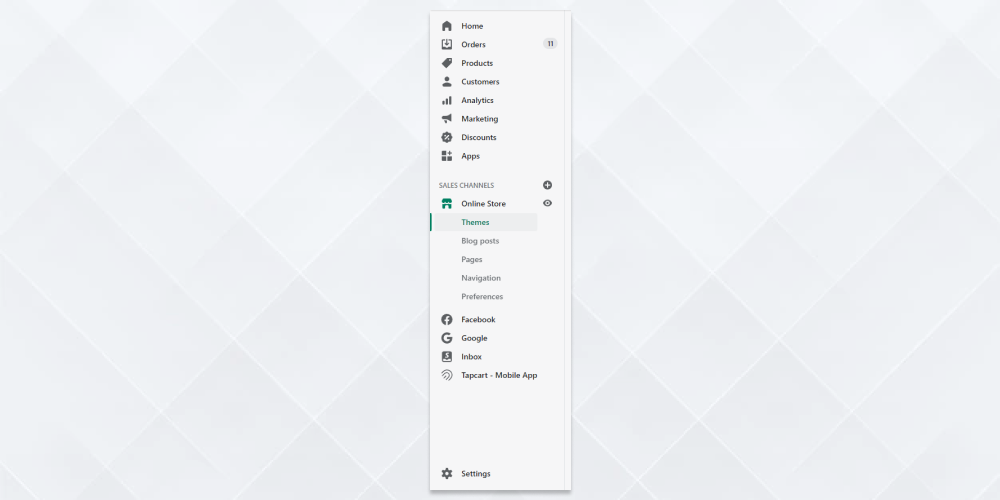
Now, you will find yourself in the Shopify store admin dashboard. It is here where everything takes place. Shopify guides you through a step-by-step process of what needs to be done to create a Shopify e-commerce store. From theme selection to store customization, it is the admin dashboard where the heart and soul of your Shopify store lies.
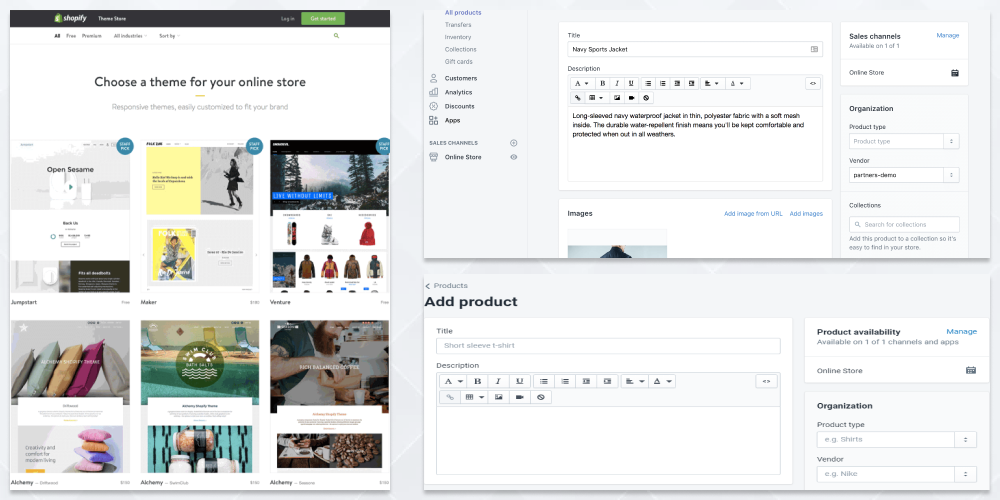
3.Choose a theme design
Now, it is time to select a good theme or layout to open e-commerce store. Shopify provides you with free themes but modifications are basic. The quality paid themes cost anywhere from $100 to $200. But the benefit is you can opt for a theme that best suits your product category so that you get everything readymade with fewer modifications to be made.
-
Browse through Shopify Theme Store to select the one that best fits your idea of an online store. Search by the category type, free themes, popular themes, or recent themes.
-
Once you set your eyes on one, check for its description to understand its features and functionality.
-
Read its reviews to know what others think of it.
-
Click on the theme’s sample image to check the look and its responsiveness.
-
View its demo and the different styles available.
-
Once you have selected a theme for your store, click on the Add Theme button.
-
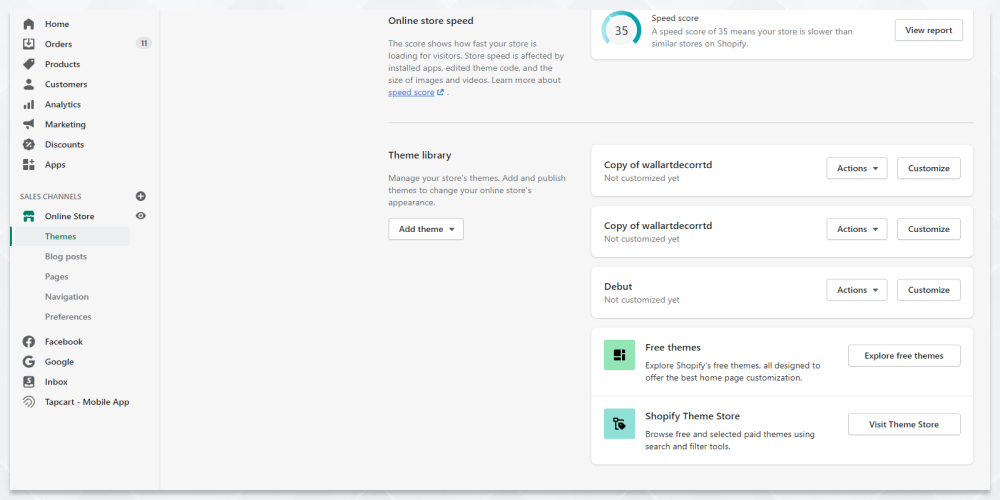
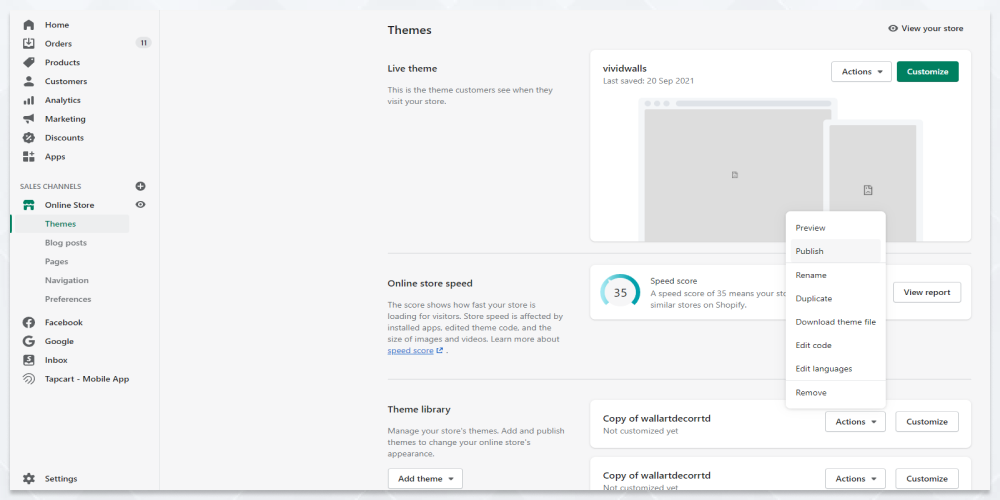
Shopify completes the installation and redirects you to the Themes manager.
Note: You can also select themes for your Shopify store from third-party websites such as ThemeForest, TemplateMonster, Envato Elements, and more.
To publish this theme, go to Sales Channel-> Themes. On this page, your selected theme will be listed as the current theme. Now click on the Actions drop-down list and select Publish to activate the theme for your store.
Note: If you are unsure of the theme or want to change it, you can always do that later.
4.Edit Shopify theme settings
After publishing the Shopify theme, it is time to make some changes to the theme and make it your store.
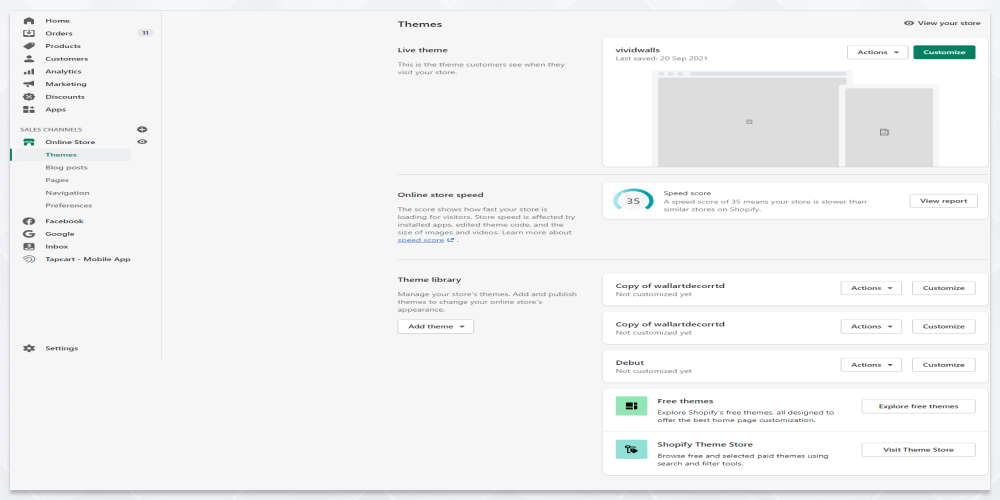
On the admin screen, select Online Store->Themes on the left navigation menu. Click on the blue Customize button (Next to Actions button) in the Current Theme section.
This takes you to a page to customize the theme. Based on the theme, you can perform these actions-
-
Upload brand logo
-
Upload slider images for the hero banner on the homepage
-
Choose color schemes and fonts
-
Choose the grid type for the collection pages
-
View its demo and the different styles available.
-
Add item functionality to the product pages
-
Reposition elements on the page
-
Add social media links.
The customization depends on the theme and some allow more flexibility with the design while many free themes offer basic custom designs.
Build An Engaging App For Free
5.Optimize Shopify store settings
Shopify, by default, sets some of the store’s features. But it is always better to check and optimize the store settings to help it get more organic searches.
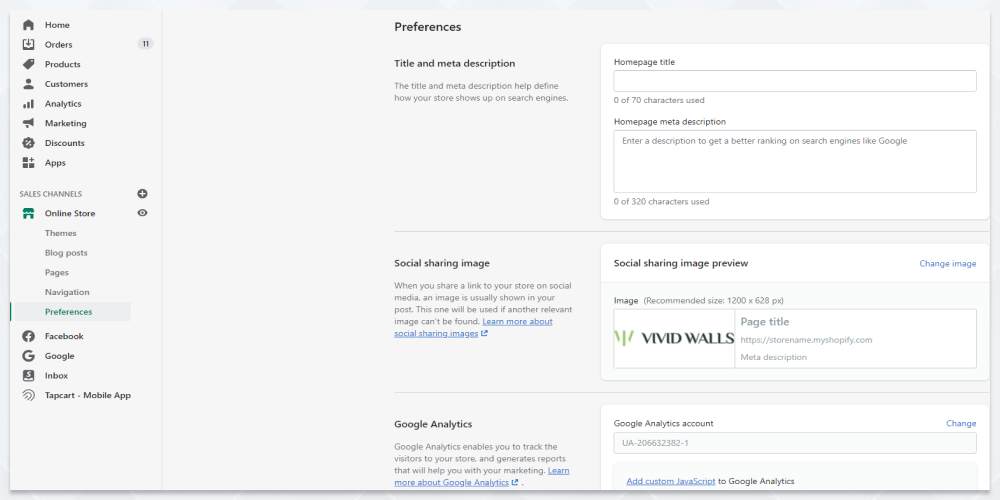
Preferences
Let us first set the online store’s meta title and description. Go to Online Stores->Preferences. Here you can edit the meta title and description. Add our keyword in the title and description to help you in SEO.
General settings
Click on Settings on the left navigation menu. This displays the general settings page. Here, you edit the store name, address, and email. The Account email will be used for Shopify to contact you. The Customer email is used by customers to contact you. Now update the legal name of your business and edit the address. Next is the Standards and formats section to set the time zone of your store and some weight units. After making changes to it, click on ‘Save’.
Payment Provider settings
Click on the Complete account setup button in the Payment Provider settings. Fill details on this page. For instance, the Statement Descriptor is the store name that your customers see on their bill. Change it to your store name. Shopify automatically sets up PayPal. We will add other payment providers later. After filling in the details, click on Complete account setup.
Checkout settings
This section allows setting some of the checkout preferences. The Customer accounts allows you to decide if customers can check out as guests or compulsorily need to set up their account. The Form options lets you decide if you require additional information from the customer. Email marketing lets you decide if customers have to sign up for receiving emails at checkout. Fill in details and finally click on Save.
Shipping settings
If you are shipping items, you can use USPS’s discounted rates for your e-commerce store. This calculates the shipping cost based on price or the product weight. Also, you can add rates from your shipping carriers and apps. If you are providing free shipping, you can skip this section.
Account settings
This section allows you to add contacts who can access your Shopify store by sending them an email invitation. You also edit permissions to choose the pages that they can access.
Legal settings
This is to set up the Privacy policy, Terms of Use, and Return Policy. Shopify generates it freely for you based on your settings. All you have to do is enter your address and email and click on Create from template under these three sections. Copy these policies on a Word file. The next step is to create new pages for each document to paste the content.
6.Create New Pages
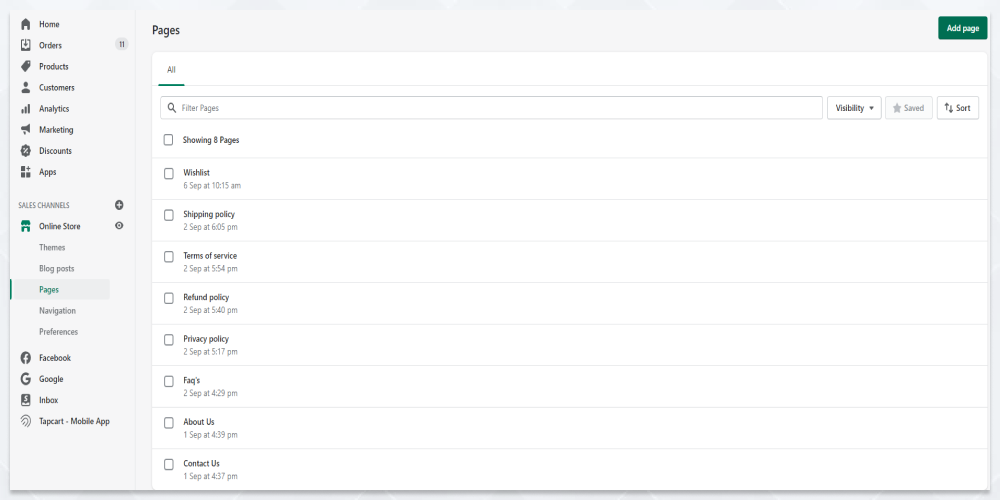
When you open e-commerce store, you also need to have pages such as About Us, Privacy policy, Return policy, Shipping Policy, Contact Us, and Terms of Use in addition to the Product pages. Let us now see how to create a new page for your Shopify store.
In the admin dashboard, go to Sales Channel-> Online Shop-> Pages. Now create a new page. Set the name to Terms of Use and copy-paste the free content that you generated from the free template. Click on Save. Similarly create About Us, Privacy Policy, Shipping Policy, Return Policy pages. Now, it is time to add these pages to the store’s navigation bar.
To create a Contact Us page, click on Add page. Now in the Template section, choose page.contact from the drop-down menu. Edit the details on the Contact Us page or you can leave it like that. Click on Save.
7.Adding pages to the navigation menu
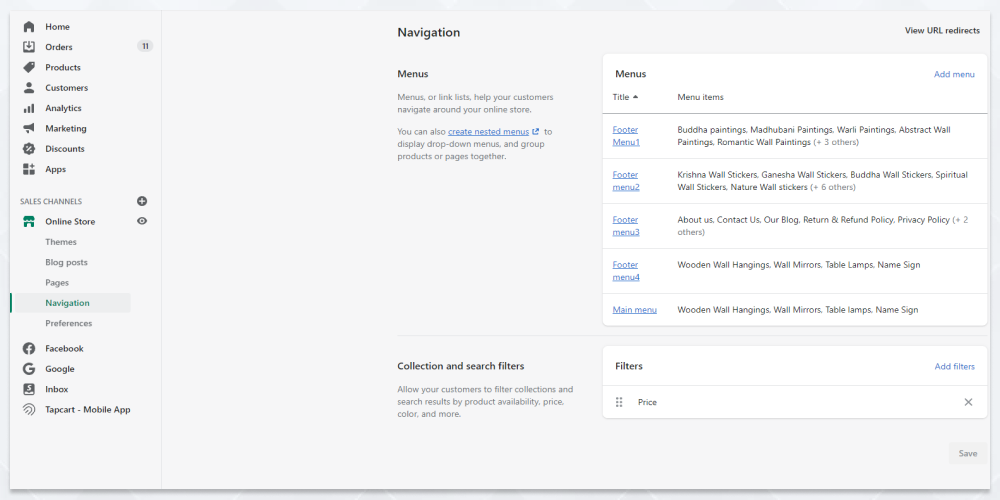
Now let’s add About Us and Contact Us pages to the main menu.
-
Go to Online Store-> Navigation
-
Click on the Main menu. Now click on Add menu-> Pages -> About Us.
-
Repeat the same process to add the Contact Us page to the main header menu.
Now, let’s add the policy pages to the footer menu.
-
Return to the navigation settings and click on the Footer menu.
-
Now click on Add menu-> Pages-> Terms of Use.
Repeat the process for Privacy Policy, Shipping Policy, and Return Policy.
8.Add Products to your Shopify store
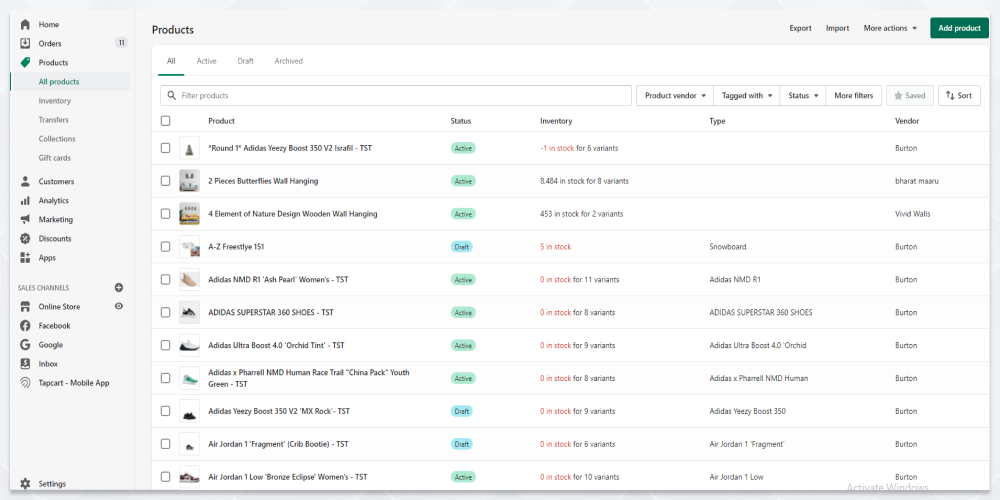
Now, let’s get to some crucial work. Click on Products on the left side navigation list on the admin dashboard. It takes you to the Products page. Click on the green Add product button displayed prominently in the middle of this page. Here are the tasks you have to complete to add products.
Title and description
Write a good title and description based on what your customers are looking for in the product.
Images
Add good-quality product images and videos
Organization
Fill in details such as product type, vendor, collections (we will discuss it below), and tags.
Pricing
Fill in the cost of the product
Inventory
Here you prepare a custom SKU (stock keeping unit) for your products to help you manage the inventory.
Shipping
This is to calculate shipping rates at checkout based on its weight and international customs, if applicable.
Variants
Here, you add variants in size (S, M, L, XL, etc) and color (Black, White, Red, etc) for your product.
Meta title, description & URL
This is how your product shows up in search page results. Follow the best SEO guidelines while filling this section.
Once you fill in the details, click on the
Save product
button.9.Create product collections

The product collection is quintessential to provide users with what they are specifically looking for. It is nothing but a grouping of products based on a common functionality, feature, tag, or vendor. For example-
-
Lamps in home décor
-
T-shirts for men in clothes
-
iOS devices in mobiles
A product can feature in as many collections as it wants. For instance, an XL red t-shirt may appear in t-shirts for men, t-shirts in red color, t-shirts in XL size, t-shirts under $20, etc. Collections help users to search for a specific product without having to browse the entire catalog. Shopify allows you to manually add or remove products into the collections or get it done automatically.
-
Go to Products-> Collections.
-
Set up a title and description
You can add products manually to the collection by searching and selecting products to add.
You can also automatically add products to the collection by setting criteria in the Conditions section.
Adding discount codes
Go to Discount-> Codes on the store page. Generate your code by setting parameters such as $10 off on the first purchase or $10 off on shopping of above $1000, etc. This is about the discount codes section.
Setting up Orders page
There is nothing to do here when you set up the store. Once you start getting online orders from customers, you can see order details such as product ordered, customer details, and order status. After you ship the item, you update the order status to ‘Shipped’.
10.Integrate Payment Gateways
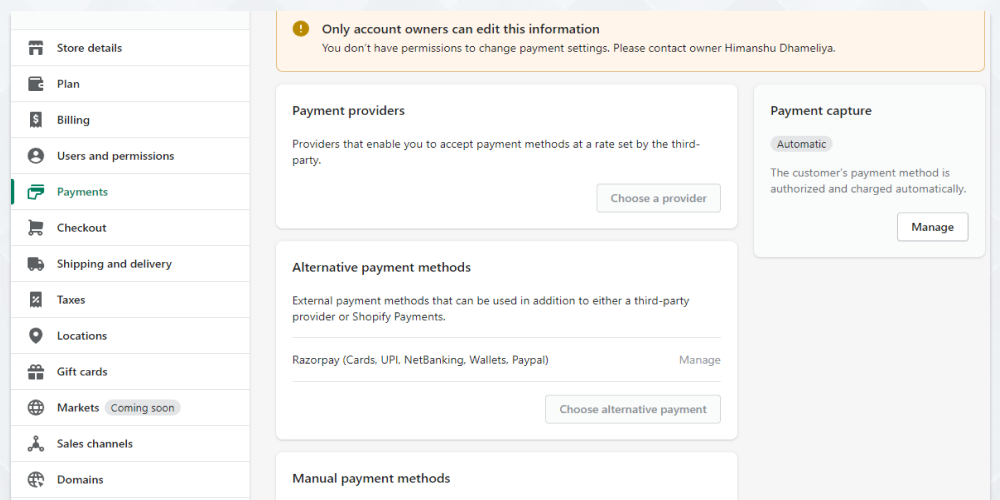
When you select payment gateways, you have to take care to see the transaction fees in addition to Shopify’s transaction fee. Go to Settings-> Payments and connect third-party payment gateway providers. You have to click on Complete account set up to add details of your business which we have already mentioned before.
11.Add Shopify apps
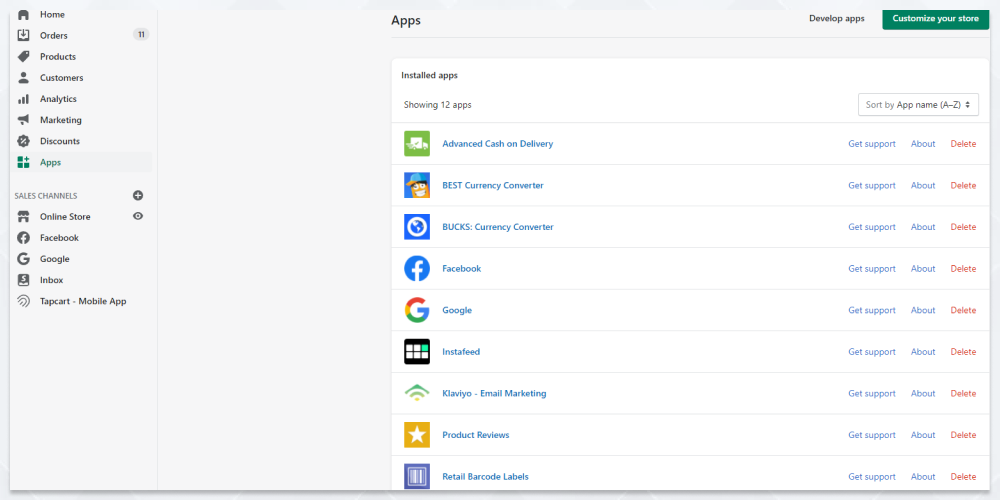
Shopify marketplace has 3000+ apps to make your e-commerce store better. On your admin dashboard go to Apps that takes you to the Shopify app store. Shopify itself recommends a few apps based on your needs or you can select any other apps to make your store functionality better.
12.Connect Analytics
Shopify has an analytics module that gives you insights into sales and profits. Click on Analytics in the sidebar menu and you are taken to the analytics dashboard.
Shopify provides some marketing tools for email and social media marketing. Click on Marketing in the sidebar menu and you can browse and set up the app based on your marketing needs.
But integrating Google Analytics into Shopify takes the data games a few notches higher.
Go to Sales Channel-> Online Store-> Preferences. Enter your Google Analytics code here. You can also enter your Facebook Pixel code. These are obtained from your Google and Facebook business accounts.
13.Add a domain name
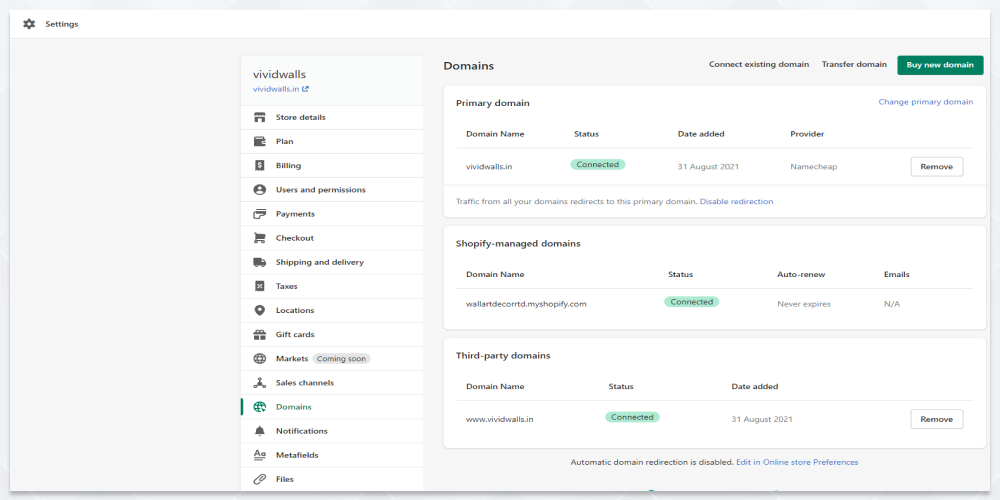
Before you launch your store, you now have to set up the domain.
Go to Sales Channel-> Online Store-> Domains.
Shopify gives you three options.
-
Connect an existing domain on GoDaddy or NameCheap to your Shopify account
-
Transfer the existing domain to Shopify to have everything in one place.
-
Buy a new domain on Shopify if you don’t have one. Enter the domain name you want for your store. If the domain name isn’t taken, you can click on the Buy button.
14.Choose a Shopify plan
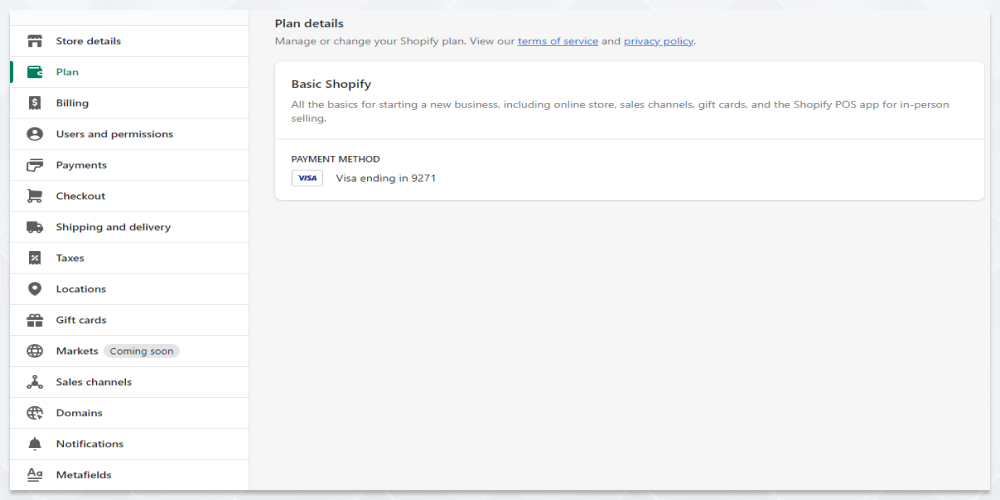
Once you are done with adding products and customizing your site, it is now time to go live. Select a Shopify plan based on your business needs.
-
The Basic Shopify Plan is for $29/month. It is best for small businesses.
-
The Shopify Plan is for $79/month. It provides some advanced features compared to the basic plan.
-
The Shopify Advanced Plan is at $299/month. It is best for big or growing businesses.
Buy a plan. Now, the next step is to remove the store password to make your Shopify e-commerce site public. Go to Online Store-> Themes-> Disable password. Now, your store’s password is disabled and you are ready to go.
15.Launch your store
Click on the Publish button and there you are! Your Shopify store is now live.
How long does it take to create a Shopify store?
Shopify is an incredible platform to open e-commerce store. It is easy to understand, fast, and offers a one-stop solution for your online store needs. If you have prior experience creating websites on WordPress, creating a store on Shopify is easy. To create Shopify e-commerce store may require some learning steps if you are a layman. No doubt, there are unlimited online resources to help you. The basic sign-up and theme selection should take no more than a couple of hours. Theme customization and adding product pages depend on the size of your inventory. You can complete creating your Shopify store in 2-3 days or one week.
To make the task easy, have all the product descriptions and About Us content ready. Decide on the payment options and Shopify app integration before you start creating your online store on Shopify. Anyway, Shopify offers a 14-day free trial and this is enough for you to gauge the requirement of your store and how long it will take for you to complete building it.
Conclusion
Open e-commerce store on Shopify for it makes your task easy. If you are interested in transitioning from a Shopify store to a mobile app, we can help. With our product Swipecart, you can create an app from your existing Shopify store.
Swipecart has a powerful inbuilt mobile app builder tool to make the conversion process easy and fast. Moreover, you can make your e-commerce mobile app features standout by integrating your favorite Shopify apps into the app.
Create Shopify e-commerce store today and you are ready to step into an incredible online business world.


