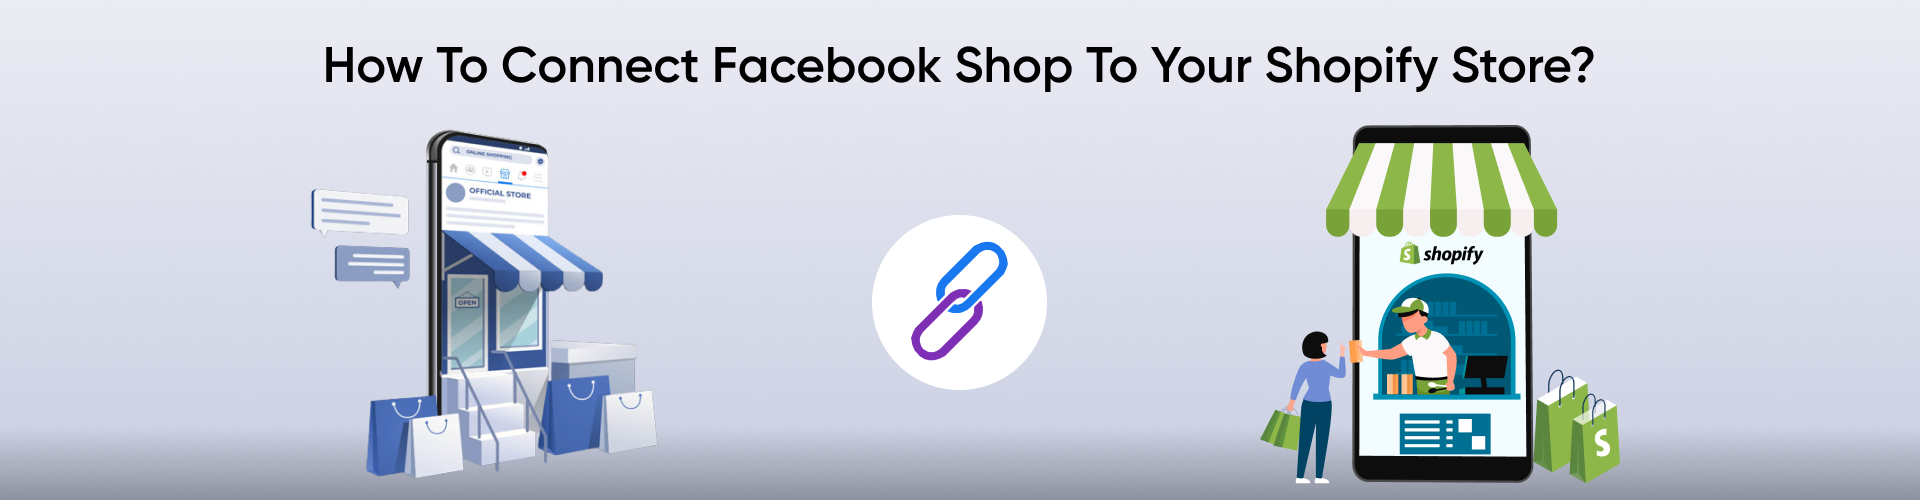
E-commerce is a crucial part of every successful business in the modern day. Reaching your target market and making sales has never been simpler thanks to social media's potential.
Businesses may use the Facebook Shop platform to set up shops on the social media network and connect with clients where they spend a lot of time online. If you currently have a Shopify-based online business, you can rapidly connect it to Facebook Shop to increase your chances of earning sales.
Connecting Facebook Shop to your Shopify store will help you reach a larger audience and boost sales if you're a Shopify merchant trying to grow your online presence. You can manage your Facebook Shop orders right from your Shopify dashboard by linking the two platforms, which will instantly sync your Shopify product catalog with your Facebook Shop.
In this blog post, we'll walk you through the step-by-step process of how to connect Facebook Shop to Shopify, so you can start selling your products on Facebook and reach a wider audience. Whether you're new to e-commerce or an experienced online seller, this guide will provide you with all the information you need to get started with Facebook Shop and Shopify. So, let's dive in and learn how to connect Facebook Shop to Shopify!
1. Create a Facebook Page for Your Business
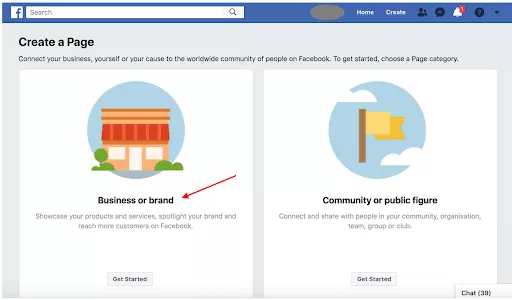
If you haven't done so already, do so. For your Facebook Shop to be set up, you must have a Facebook Page.
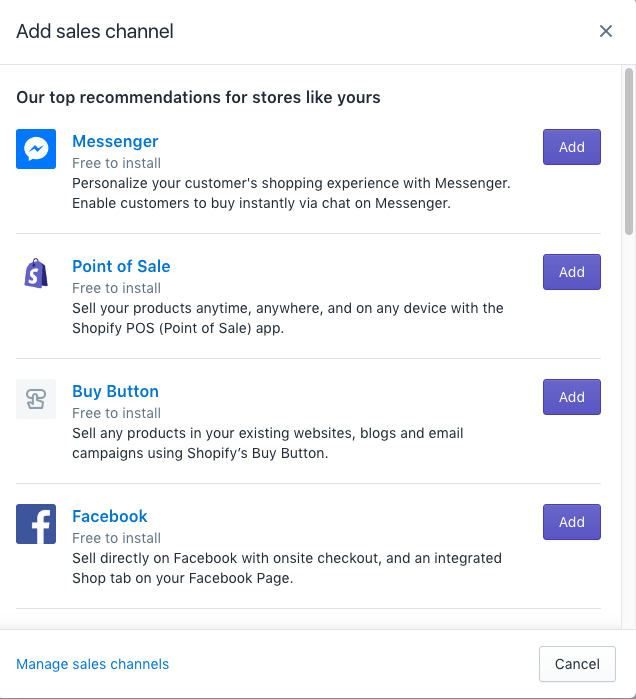
2. Connect your Shopify store to Facebook
-
Go to the "Sales Channels" section after logging into your Shopify store.
-
Click on the "Add Sales Channel" button and select "Facebook." You'll be prompted to connect your Facebook account to Shopify.
-
Log in to your Facebook account by clicking the "Connect Account" button. If you are not already logged in, you will be asked to enter your email address and password.
-
Grant permissions to Shopify: Having logged in to your Facebook account, you must provide Shopify permission to access your Facebook profile and manage your Facebook Shop. To authorize these rights, click the "Continue" button.
Build An Engaging App For Free
3. Set up your Facebook Shop on Shopify

Follow the instructions to create your Facebook Shop and customize your store's appearance.
-
Go to the Facebook section on Shopify: After you have connected your Shopify store to Facebook, log in to your Shopify dashboard and then click on the "Facebook" section in the left-side menu.
-
Select the "Set up Facebook" option: In the Facebook section of your Shopify dashboard, you'll see a button that says "Set up Facebook." Click on this button to begin setting up your Facebook Shop.
-
Choose your Facebook page: Shopify will ask you to choose the Facebook page as soon as you click "Set up Facebook." Choose the page you want to use if your Facebook account is connected to more than one.
-
Customize your store's appearance: Shopify will walk you through the process of modifying the look of your store after you've chosen your Facebook profile. You may select the profile & cover photos for your store and change the colors to reflect your brand.
-
Add your business details: You must also provide information about your company, such as your firm name, a description, and contact data. To assist clients to locate you and believe in your brand, make sure you offer accurate & comprehensive information about your company.
-
Publish your Facebook Shop: Once you've altered the look of your store & entered your company information, click "Publish Store" to render your Facebook Shop live. Individuals who visit your Facebook page will now be able to see your Facebook Shop.
-
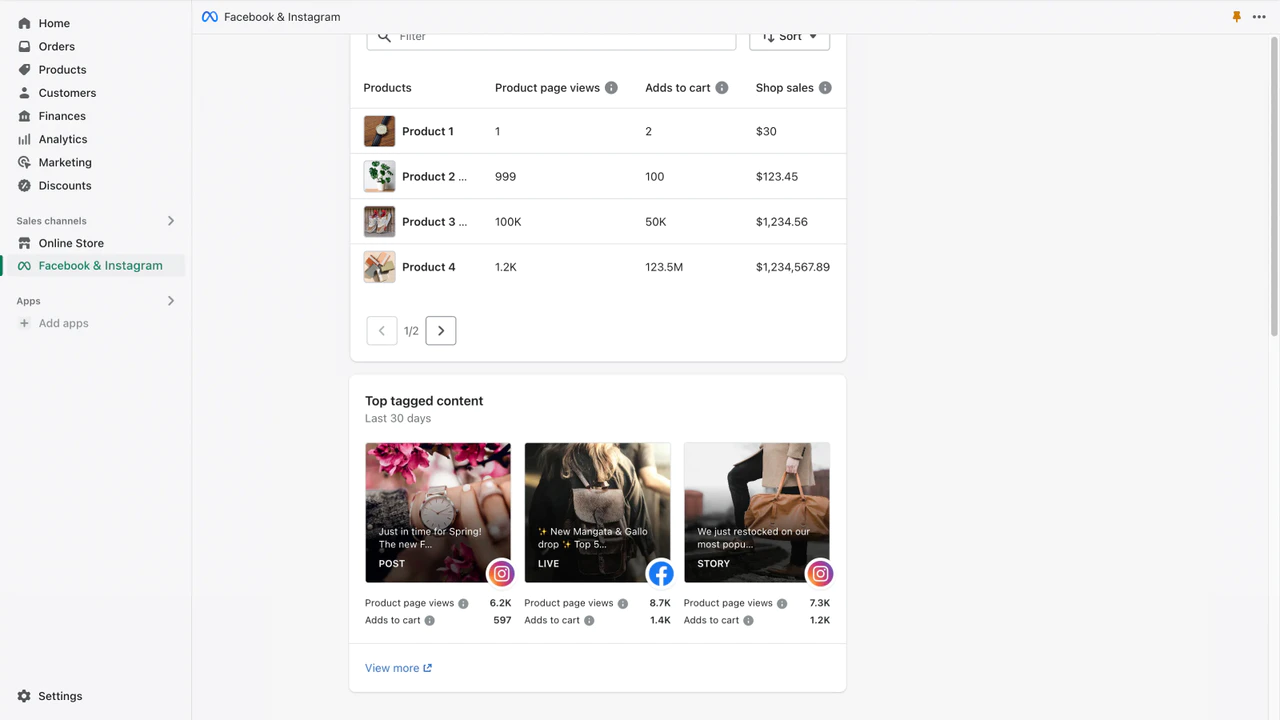
Manage your Facebook Shop: You can now manage your items and orders right from your Shopify dashboard after setting up your Facebook Shop. To draw consumers and increase sales, be sure to maintain your Facebook Shop updated with your most recent goods, prices, and promotions.
4. Add products to your Facebook Shop
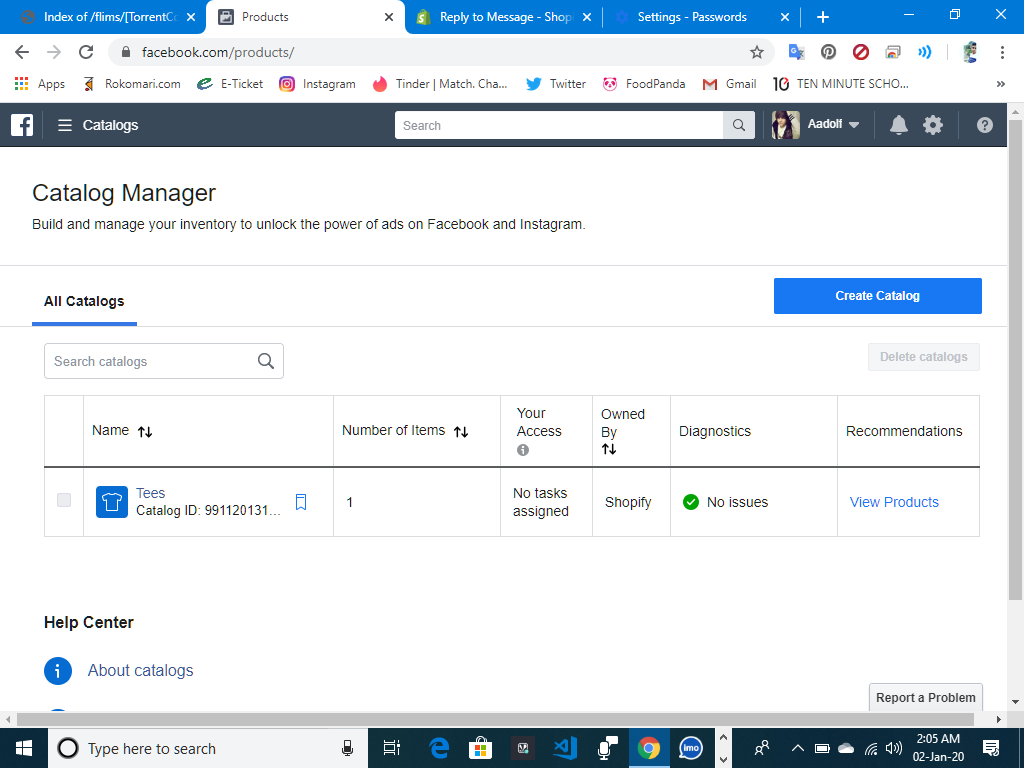
After setting up your Facebook Shop, you'll need to add your products. You can sync your Shopify product catalog with Facebook by going to the "Facebook" section in your Shopify dashboard and selecting "Add Product." Follow the instructions to select the products you want to sync with Facebook and publish them to your Facebook Shop.
5. Manage your Facebook Shop orders
Once your Facebook Shop is set up and your products are synced, you can start selling on Facebook. When a customer places an order on your Facebook Shop, you'll receive an email notification and the order will appear in your Shopify dashboard. You can manage your Facebook Shop orders just like any other order in Shopify.
Conclusion
By following these steps, you can connect your Facebook Shop to Shopify and start selling your products on Facebook.
It's a great way to reach a wider audience and increase your sales potential. Remember to optimize your Facebook Shop with high-quality images, detailed descriptions, and accurate pricing information to attract customers and encourage sales.

